The Pixel Crush

-------------------------------------------|Digital Animation & Game Criticism|-------------------------------------------

Showing posts with label Final Gather. Show all posts

Wednesday, 30 May 2012

A Linear Lighting Workflow Based Around Mental Ray's Final Gather

A Linear Lighting Workflow Based Around Mental Ray's Final Gather

I'm hoping this will become part of a collective of innovations projects if people decide to upload or post theirs too, so I'll link to them at the bottom of the post and update the it as they become available. I was specifically interested in expanding my understanding of bounce cards and indirect lighting techniques inside of Mental Ray so I created a step by step as I lit a scene using this method almost exclusively. Here it is for your perusal:


First I set up a simple scene with some props inside it and created a camera. In order for 32bit rendering to be enabled in Maya you first must go to the display tab of an open render window, and set Maya to 32bit, restarting the program if necessary. Now you need to go to the mental ray tab on the camera's attributes and create an exposure node to give you control over the exposure of the scene. Create this node by clicking the checkerboard next to the lens shader box.
The lens shader you want to use is the mia_exposure_simple. For what we're doing it has plenty of control and nothing that you can't add in post later if you need it.

The important part here is to setup the way your scene is being displayed, so that it is correct within the linear workflow we are using, some people like to gamma correct each shader individually but this a much quicker and more efficient way if perhaps less physically correct.
Go to the gamma attribute of the lens shader and set it to 0.455. This will ensure that your scene is being displayed in a way that matches the sRGB output of a computer monitor.
You can leave the rest as default for now though we may (will) need to tweak them later.
Now to ensure that Maya is not applying the gamma correction twice when displaying the image you need to go to the render view and under the display tab at the top choose colour management. 
This will bring up the the colour management settings in the attribute editor. You need to set the top on to “Linear sRGB”.
Final gather has a sneaky and powerful feature where you can use the colour of a camera's environment to effect the final gather, to simulate say the colour of the sky, casting light where the sun doesn't shine. Here I've set it to grey just to give the final gather a bit of a boost in the areas the light isn't going to reach.
A little about render settings before anything else is done. In order for the 32bit renders to display without noise you need to set the framebuffer to RGBA 32bit at the bottom of the quality tab in the render settings, a format like OpenEXR can handle this fine but tiffs also work. Make sure Mental Ray is the selected renderer and that final gather is turned on, either in the features tab or the indirect lighting tab, the result is the same.

Before Final Gather

After Final Gather
So the plan is to try and light this scene using everything I know about final gather and as few real lights as possible, the whole scene could be lit by final gather alone but as I want a quite direct light source coming from about it wouldn't like right without the correct shadowing if we didn't throw in some raytracing, and what better way to do that than an area light?
Area lights are slightly tricky and there are some sampling things you need to straighten out that for the shadows to look smooth, its also easy with an area light to increase render time radically without actually increasing image quality. Before any of that is approached set the falloff to quadratic and assign a portal light shader in the light shader box under the mental ray tab of the light's attributes.
For the portal light shader to work the light needs set to use the light shape in the mental ray section and have the “visible” box checked on. The great thing about the portal light shader, and its relevance to a final gather pipeline, is that it draws in light from the exterior environment colour and pumps it through the hole you put it in, meaning that final gather quality is greatly increased on interior lighting without having to massively turn up any settings. Its intensity acts independently of the light's intensity so you can tweak the multiplier attribute and ignore the original light intensity.
The Portal Light
I then experimented with turning the final gather falloff right down to only between 50 and 75 world units of distance. This meant that anything further than that was illuminated by the environment colour so the entirety of the room was now lit as it exceeded these measurements, therefore drawing on the environment colour rather than remaining in darkness. It looks nice but was not the effect I was going for.

Tighter Final Gather Falloff
Hole In The Roof
I made a box in order for the light to function properly as a portal and create darkness around the the rest of the scene, here is the hole itself.
That's the one light setup (subject to further tweaking), next Ill explain how virtual lights work and how to set them up. In lighting for cinema or photography bounce cards are often used to spread light around in a soft way that requires no extra lights, just large white surfaces. In mental ray you can achieve the same effect without even needing the light to bounce in the first place, just the card. First a polygon plane is created (or any shape, depending on how you want the light to be emitted), then a surface shader is assigned to it. But changing the out colour of the surface shader to a white it will emit light when final gather is turned on. The softness of that light is controlled by the size of the plane, the direction by the angle, and the intensity by the value of the out colour. If you open the colour watch for the out colour you can type values higher than one into the value box to create brighter virtual lights of any colour.
Virtual Lights
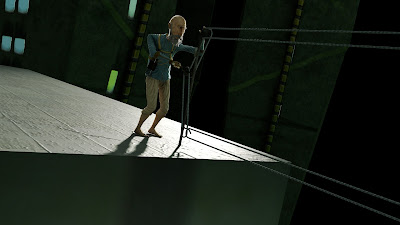
This is what it should look like in scene when you've set a few up in strategic positions. This was my initial set up but I ended up placing one under Leonard's chin to bounce light up into his face, and one to the left of the books to brighten their profile from the side. One important thing to remember is to go into the render stats in the attribute editor of each plane and turn everything off, unless you want reflections for the virtual light. Then in the mental ray section below render stats turn of everything else except cast final gather: that's the bit that will be doing the actual illuminating.
If you don't turn them off you get a render that looks like this:
Oops, forgot to hide them in the render stats...
Something to make the scene a little easier to navigate now that there are giant cards hovering in the air blocking the view is to group them and under the display tab of the attributes for the group are the drawing overrides. After enabling them, you can set the “level of detail” dropdown to “bounding box”. This means that only outer edges are represented by a wireframe cuboid. They render exactly the same and are still selectable, its merely a visual tool to allow the scene to run smoother and be easier to see what's going on.
Drawing Overrides
I planned to fill the suitcase with Kernels so I created a hemispherical virtual light to place over the
them and give them a knowledgous glow. Playing with sizes, angles, and intensities was important to get the tops of them glowing but also have them receive enough light from the environment to make them sit properly amongst the other props.
After a quick render it looking like this:
The Glow of Knowledge
I really liked this look but the overall look was too dark and contrasting. Perhaps more realistic, but I want more of the environment detail to be visible, as well as Leonard's facial features. Without touching the portal light itself, which I had increased the intensity on in the previous render, I turned the environment colour on the camera from a dark grey to white. It changed the overall luminosity dramatically. From here it was just a question of evening it out a bit which can be done easily using the lens shader.
Over Exposed
When there's this much contrast the bounce light is literally the only thing lighting up areas untouched by direct light, this gives it a really organic colourful look which I love and is particularly noticeable on some of the books and the undersides of Leonard's limbs. The light I mentioned earlier to brighten Leonard's features was placed like this:
After some minor tweaks to various brightnesses and things I adjusted the lens shader, using its compression attribute to narrow the high dynamic range of the exposure, bringing the blackest blacks and the whitest whites closer to the visible spectrum, and equalise the mid tones for an image that probably closer resembles what I eyeball sees rather than what a camera would see.
I set the compression attribute to 5, the gain up to 2 (brightening the whole image), and kept the knee at 0.500 in order to stop the highlights from blowing out too much.
And here is the final render:
King Kernel
Any questions?


Innovations Collective:


Charlie Minnion: How to composite a polluted city.


[watch this space]


Monday, 30 April 2012

Kernel Condensed

Lets try something new:

I'mwaytoobusytowriteablogpostsoinsteadImgoingtouploadallmytestrendersforyoutoenjoywithminimalprose

I'd somehow forgotten about my awesome lambert lighting workflow, its so fast, I love it!
Plus it looks so gorgeous its almost a shame that all that colour gets absorbed by the textures in the final render.


The beauty of final gather, in this sequence the use is minimal and its almost more of a glorified and accurate ambient light. But much slower. Though I have started playing with the min and max radius settings which control the area and therefore speed of the final gather. Above is before, below is after.
These renders are from ages ago. I couldn't figure out how to make this exterior shot look better and you know what always makes things better?...
...rim lights, they emphasise outline and form. and help Leonard stand out from the background, these are special rim lights that only effect Leonard and nothing else in the scene.

Even from a distance they work well. (Enlarge to see them working well).

After referencing in all the props and sets this scene still look worringly bare, so we got our trusty 2nd year Sebastian to jump on it and conjure up some details for the top of Leonard's skyscraper, with limited time he managed to generate some models, and faithful Ryan completed the task admirably with textures, prop placement and cleanup.
 Just when I thought I was done with the greenhouse...

Another sneaky trick in lighting is to create a light that only emits specular (shiny) light rather than diffuse (soft) light, and then attach it to only the eyes of a character. This allows you to create lots of tight highlights that bring out that glistening, alive look, in a character's eyes. As seen below (enlarge to see below).
I was being useless with my feedback for a particularly tricky shot to comp so I made this as a template for the city composites, to communicate the visual style I had in mind. It still amazes me what you can do to a plain render with compositing. God rays, lens smut, and lens flare save the day.
That post was not as succinct as I originally planned, but I think thats a good thing.

Pixel Propaganda

Richard Lemarchand, a great game designer whose words made into into my dissertation, recently left Naughty Dog after working on the Uncharted games. He's gone to teach, travel, and make experimental games. I want to go with him.

The guys at Digital Domain made a making of for real steel and the use of Vray renderer in it. Its really cool, some great breakdowns, and a lot of talk about the est features of Vray, makes me wish mental ray had them.


Creative director at Irrational Games, Ken Levine always has interesting things to say about writing for games, mostly because they way he writes for them work so well with the medium, despite coming from a cinematic background.

I still can't quite believe several things about this trailer. Firstly its running on proprietary technology, secondly that its realtime, thirdly that it was made by 2 people, and lastly that the game its promoting actually sounds legitimately interesting. Very very exciting.


Also legitimately exciting: when people who write interesting things about games fling down their pen and exasperation and go and make them themselves. Nels Anderson wrote a great blog and now he's a gameplay designer at Klei working on Mark of the Ninja. Which looks like an awesome, intensional stealth game, where all the games systemic elements are visually represented to maximise player understanding and agency.


Saturday, 31 March 2012

We Built This City...

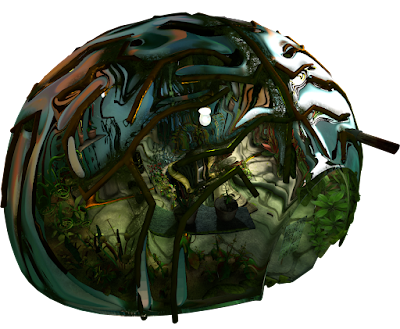
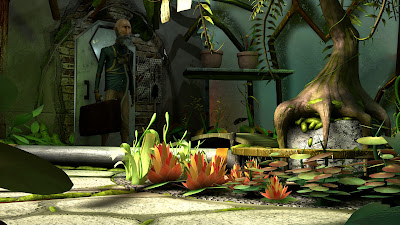
The Greenhouse, From The Outside
Final lighting for the greenhouse is complete  as seen above from both the exterior, and below from the interior:


This is one of those old blog posts, it sits in the drafts section getting a bit stale, its still tastes good but the texture isn't as fresh as it once was and you're not quite sure which tense to write it in now, two weeks since the last post.

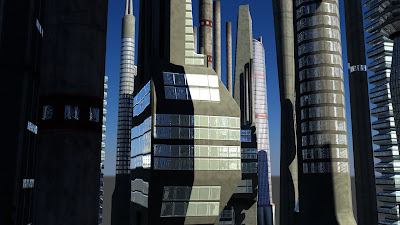
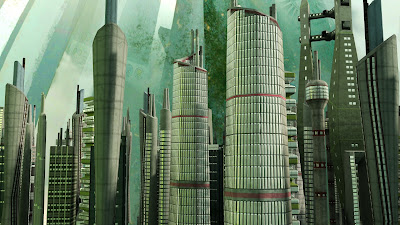
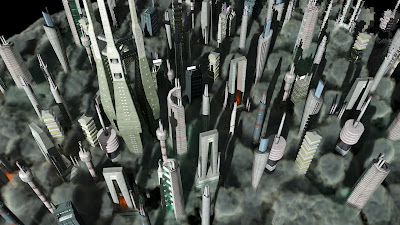
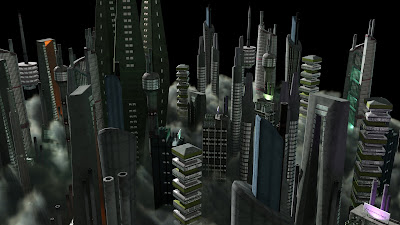
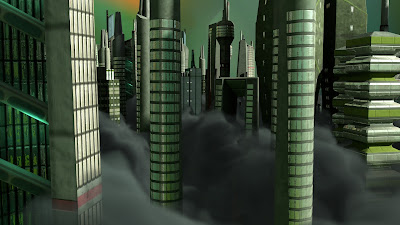
Team Kernel made a city. It doesn't have a name but its in keeping with the Kernel visual style, conveys the oppressive and ubiquitous theme of ignorance, and the majority of it was in fact modelled and textured by our faithful second year Sebastian. Since he completed it I've been going through tweaking the textures very slightly, creating reflection maps for the windows, and applying shaders to it before I could light it.
Shiny Window Shaders
I started with the same workflow as the greenhouse with a final gather sphere, and this time a directional light. The colours from the sphere were overly green though, while I like the effect, its not contrasting enough to the greenhouse. Also its hard to tell anything for sure without the atmospherics and smog in the scene.
The Greenhouse Effect
I tweaked the final gather incandescence map  to create a more neutral colour palette but lost too much of the character of the environment so opted to create a more controlled incandescence map. I wanted to create a bright spot in the center for the sun and have that tail of into the darker edges of the city. What I ended up with is this bluer, smudgier, more focused lighting map:
Final Gather Incandescence Map
The city is really simply lit scene, by far the quickest I've made, but still pretty slow to render once I added the smog Alan made which has raytraced shadows through it. There are just some really simple point lights filling out the hollow buildings and a spot and point light combination illuminating the frame buildings to highlight the architecture.
...On Rock & Roll
I'd neutralised the colours of the final gather and sunlight at this point, but it just lost all sense of atmosphere. Getting the sunlight onto the smog was tricky because I had a mental ray physical sun shader on the directional light to create quicker soft shadows on the buildings, which worked great, but this meant that it would work with the fluid. So I separated out the smog onto a separate render layer and created a layer over-ride that made the directional light ignore the physical sun shader and just do a simple raytrace shadow. But this didn't create the correct shadows until I'd made a duplicate city, that was invisible, but still casted shadows. After this elaborate work around it turned out fine.
Billboards have they're own dedicated spot lights.
The Smog of Ignorance
Now that all the assets have been generated for Kernel, all the sets, props, dynamics most people have moved onto animation. This means that instead of our one man animation army we have at least 7 animators at the moment, progress as absolutely blitzing and I can barely keep up with lighting each shot, its fantastic! We have every shot accounted for by an animator for two thirds of the film. It just go to show that there comes a tipping point in every project where all the manufacturing of pretty things is completed, allowing the actual film making to start, the performance, lighting, and rendering of each shot. Morale seems to be up, productivity seems to be up, at this rate we're going to finish with something not only pretty, but quite substantial. Have a render, click to enlarge:
Leonard Enters The Greenhouse
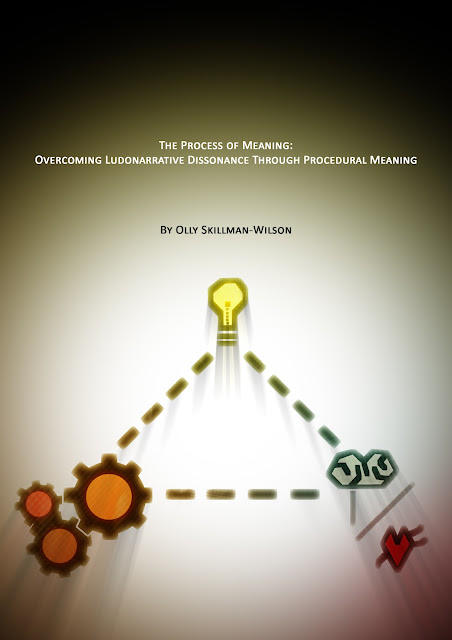
Apparently I wrote a dissertation in my down time, no big deal. I even made a front cover for it which just reminds me of when I went to a Steiner school and there was a lot of emphasis in taking pride in your work and the presentation of it. I wanted to illustrate the main argument pictorially so I made a triangle of game mechanics (cogs), ideas (lightbulb), and the thoughts and feelings they generate (brain/heart). It would be awesome to get this published somewhere but I'm not sure how to go about doing that. Maybe I'll post it on the blog in chapters, or smaller installments, but I don't know that anyone would actually read it.
The Process of Meaning

Pixel Propaganda

Frictional games, creators of the excellent Amnesia: Dark Descent, often have interesting things to say about game design. Thomas Grip here talks about their approach to game design and how its unconventional, it seems like its most definitely the best direction games could be going in.

He crops again in this interesting gamasutra article on storytelling in games which also features the writers of Portal 2.

I love Braid, I love Jonathan Blow, and everyone should always listen to everything he says because hes always right. While that may not be true, its the feeling I get when I hear him speak, all his design philosophies come from the right places.

Autodesk released a bunch of talks on their youtube channel and this one was actually given by a student and some of the points he made were particularly familiar to our work on Kernel. Especially the emphasis on each team member filling multiple roles over the course of production.


There was another talk on the lighting in Killzone 3 and a part about the use of volume lights, something I'm not used to using which seemed to work really well and was very interesting.

Quantic Dream, the studio behind my favourite game of 2010 Heavy Rain recently released a short film which doubles as a tech demo for their new game engine. I'm excited for whatever they do next from a design perspective, but graphically, having moved to PC, this looks dated in comparison.


P.S. Happy 30,000 views to The Pixel Crush.