I'd somehow forgotten about my awesome lambert lighting workflow, its so fast, I love it!
Plus it looks so gorgeous its almost a shame that all that colour gets absorbed by the textures in the final render.
The beauty of final gather, in this sequence the use is minimal and its almost more of a glorified and accurate ambient light. But much slower. Though I have started playing with the min and max radius settings which control the area and therefore speed of the final gather. Above is before, below is after.
These renders are from ages ago. I couldn't figure out how to make this exterior shot look better and you know what always makes things better?...
...rim lights, they emphasise outline and form. and help Leonard stand out from the background, these are special rim lights that only effect Leonard and nothing else in the scene.
Even from a distance they work well. (Enlarge to see them working well).
After referencing in all the props and sets this scene still look worringly bare, so we got our trusty 2nd year Sebastian to jump on it and conjure up some details for the top of Leonard's skyscraper, with limited time he managed to generate some models, and faithful Ryan completed the task admirably with textures, prop placement and cleanup.
Just when I thought I was done with the greenhouse...
Another sneaky trick in lighting is to create a light that only emits specular (shiny) light rather than diffuse (soft) light, and then attach it to only the eyes of a character. This allows you to create lots of tight highlights that bring out that glistening, alive look, in a character's eyes. As seen below (enlarge to see below).
I was being useless with my feedback for a particularly tricky shot to comp so I made this as a template for the city composites, to communicate the visual style I had in mind. It still amazes me what you can do to a plain render with compositing. God rays, lens smut, and lens flare save the day.
That post was not as succinct as I originally planned, but I think thats a good thing.
Pixel Propaganda
Richard Lemarchand, a great game designer whose words made into into my dissertation, recently left Naughty Dog after working on the Uncharted games. He's gone to teach, travel, and make experimental games. I want to go with him.
The guys at Digital Domain made a making of for real steel and the use of Vray renderer in it. Its really cool, some great breakdowns, and a lot of talk about the est features of Vray, makes me wish mental ray had them.
Creative director at Irrational Games, Ken Levine always has interesting things to say about writing for games, mostly because they way he writes for them work so well with the medium, despite coming from a cinematic background.
I still can't quite believe several things about this trailer. Firstly its running on proprietary technology, secondly that its realtime, thirdly that it was made by 2 people, and lastly that the game its promoting actually sounds legitimately interesting. Very very exciting.
Also legitimately exciting: when people who write interesting things about games fling down their pen and exasperation and go and make them themselves. Nels Anderson wrote a great blog and now he's a gameplay designer at Klei working on Mark of the Ninja. Which looks like an awesome, intensional stealth game, where all the games systemic elements are visually represented to maximise player understanding and agency.
When I'm writing these blogs I usually go through the images and renders I've saved over the week that I want to share and base the writing around them, I didn't used to do that, but they've become so long and sprawling and infrequent that its the only way I can remember.
So if you'll please turn to figure 1.0
Mosscott
Here we have an image of Moss Scott, the mascot for Kernel during studio time. He partly exists due to the number of times I asked Ryan to cover everything in moss, partly as a nest for the rivet we found in the studio (I think) that matches Leonard's rivet perfectly, and partly to keep spirits up with his jokes.
Figure 2.0
This is the look of the final knowledge cloud and its thanks to Kai's fluid fanciness that it looks this detailed, I borrowed a combination of his and the script's lights to light it like this. He's also placed a particle system in the center which orbits the central light like a nucleus. This was the first time I'd properly used lights with a negative intensity before. Its great because you can actually subtract light from the surroundings and its what gives the cloud that deep red underside.
Figure 3.0
This is the shot that the mask was made for, to properly reveal Leonard, but that strap has been a complete bastard to simulate. Not only did it take forever to fix as it intersected with his head and face over and over again, when it came to render time Maya just ignored the cache and re-simulated it, managing to get the strap right through his nose and mouth for the last 50 or so frames. Why?
I love the red and blue colour palette of this shot's lighting. What was useful about this shot was it forced me to make some final tweaks to the fur and eye shaders so they held up to close scrutiny a little better.
Figure 3.1
Not what he signed up for.
Figure 4.0
I've taken to lighting Leonard alone at first in some scenes now as they are so heavy with geometry and dynamics that it takes half the render time just 'translating the frame' which essentially is it copying everything to the RAM I think, so it can render. This way it copies relatively little and I can start seeing what changes I need to make without have to wait 5 minutes.
Figure 4.1
I got carried away and starting compositing this one. Delicious. You can just see the beginning of Liam's lights and the animated shader I worked on with him. It should look spectacular in motion.
Figure 5.0
As Len's darkest moment where he realises his oxygen is broken, I figured it was time to take that darkness quite literally. And also time to break out the lens flare, but not too much, keep it classy.
Whats weird is this was rendered with final gather, which seems to have covered up the sub surface effect I was getting through his ear. I believe this is because the diffuse light is stronger than the scattered light, but I don't understand why there are such dark bits in his ear. I may have to fake the final gather to get that back, I'd turned it right down anyway so its only go to speed up render time.
We have around 5 weeks left. Its going to be interesting. I am still optimisitic.
Pixel Propaganda
I'm proud to say I understand 90% of what they're talking about in the new release of mental ray's update notes.
An article I'd been meaning to read for weeks turned out to be pretty interesting. Its on one of Pixar's cinematographers. She talks about how her painting allowed her make some observations that helped improve the atmospherics lighting in one of their films.
A good interview with the father of the Metal Gear games. he talks about why and how he innovates and some of his feelings about his own creative successes and failures.
I didn't manage an update last weekend so here's one a little later. Team Kernel are now working in the studio every weekday, almost everyone putting in their 9 til 5's, and its great to see people working harder than ever. Because my time is so scattered between people in the studio I find it very hard to remember what specific things I have personally accomplished each week as its so mixed up with providing feedback for and tweaking other's work. I have spent a lot of time finalising shaders for props in the shed, and more recently both the tree and the glass in the greenhouse.
Brain Greenhouse Exterior
Its taken quite a while getting the greenhouse looking how I wanted (vaguely) and a number of different cheats and techniques. In order the create a much more interesting refraction of things through the glass and better specular highlight I want to create the effect that the glass was bulging up between the pipes, almost like the hexagonal bubbles that make up the biomes at the Eden Project. To save this being modeled in an intensely awkward and slow manner, I opted to bring the pipes and glass into Mudbox and use its ambient occlusion map extraction to create a bump map for the glass. By using the pipes to create dark occlusion on the glass mesh I could create a bump map that dipped in around the pipes and bulged out in the space between. It wasn't a perfect solution and there are still some weird aliasing problems on the specular when the bump is turned up to 1, but its very cunning and creates a decent effect.
Brain Greenhouse Interior
I also had some weird problems where the pipes where glitchily reflecting inside the glass in these ugly triangle shapes, after a lot of fiddling I managed to get rid of it by extruding the glass so it physically had depth, then telling it to be solid glass, but with backface culling. This is basically the same as telling the shader the geometry only has front faces (like when it started) but for some reason it no longer generated ugly refractions: magic! If you're wondering what the photographic background is I was using to test the refractions its the Team Kernel photo we took last week to put in a frame on Leonard's desk as a little secret to hide in the film. Everyone present that day got a place in the photo and texture king Nigel nimbly photoshopped it together with Big Len.
Team Kernel
The other shader thats been giving me hell was the tree which I've been trying to plug both bump and normal maps into, as per the wonderful (but unpredictable) mia_material shader allows.
Finally after lots of trial and error I have it working and translucent, alive looking leaves too. All I originally planned on doing was giving the leaves slightly different hues like I did with the books in the shed but ended up going a lot more in depth and not getting that done at all. Maybe tomorrow?
Cathexis Tree
My lighting workflow has really started to solidify. I create a lambert override so there are no textures, just the colours of the lights. Then I start with the ambient lighting in the room: coming from windows or the sky.
Ambiant
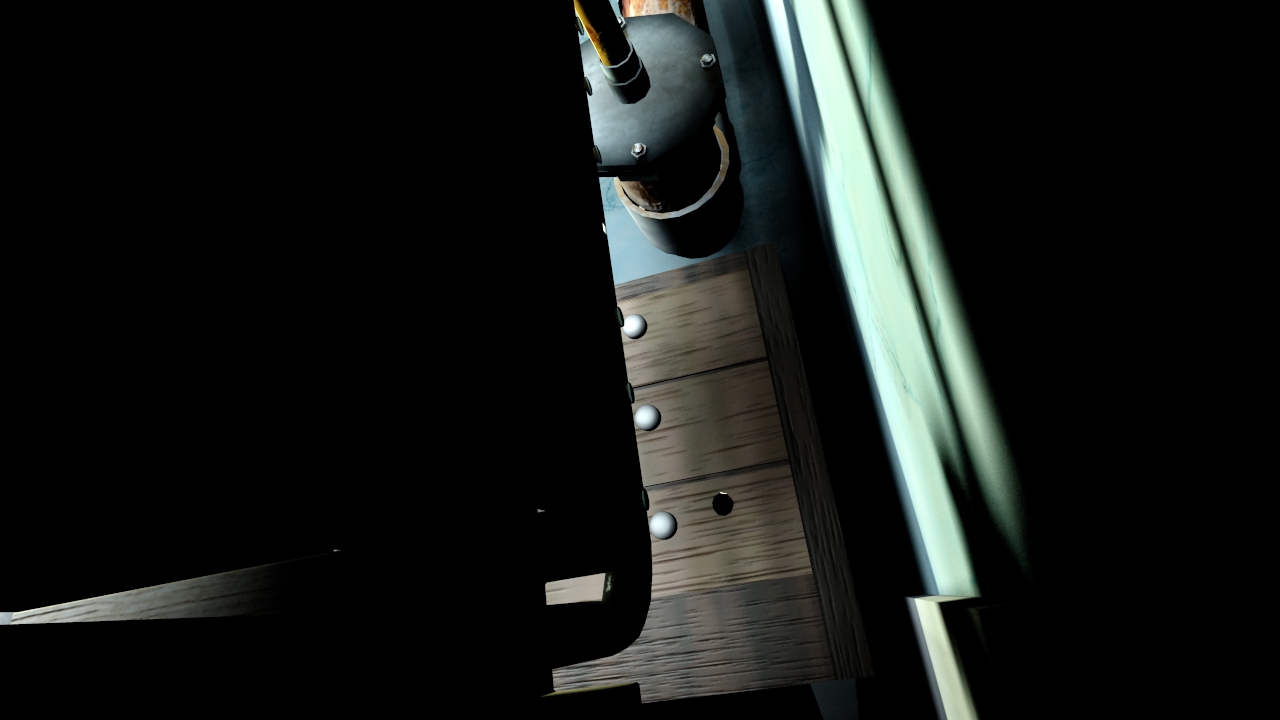
Then a key light or sun light that is the most obvious and prominent light, hopefully with some striking shadows. This usually needs some bounce lights which in this example is the underneath of the wooden oxygen case.
Key Light
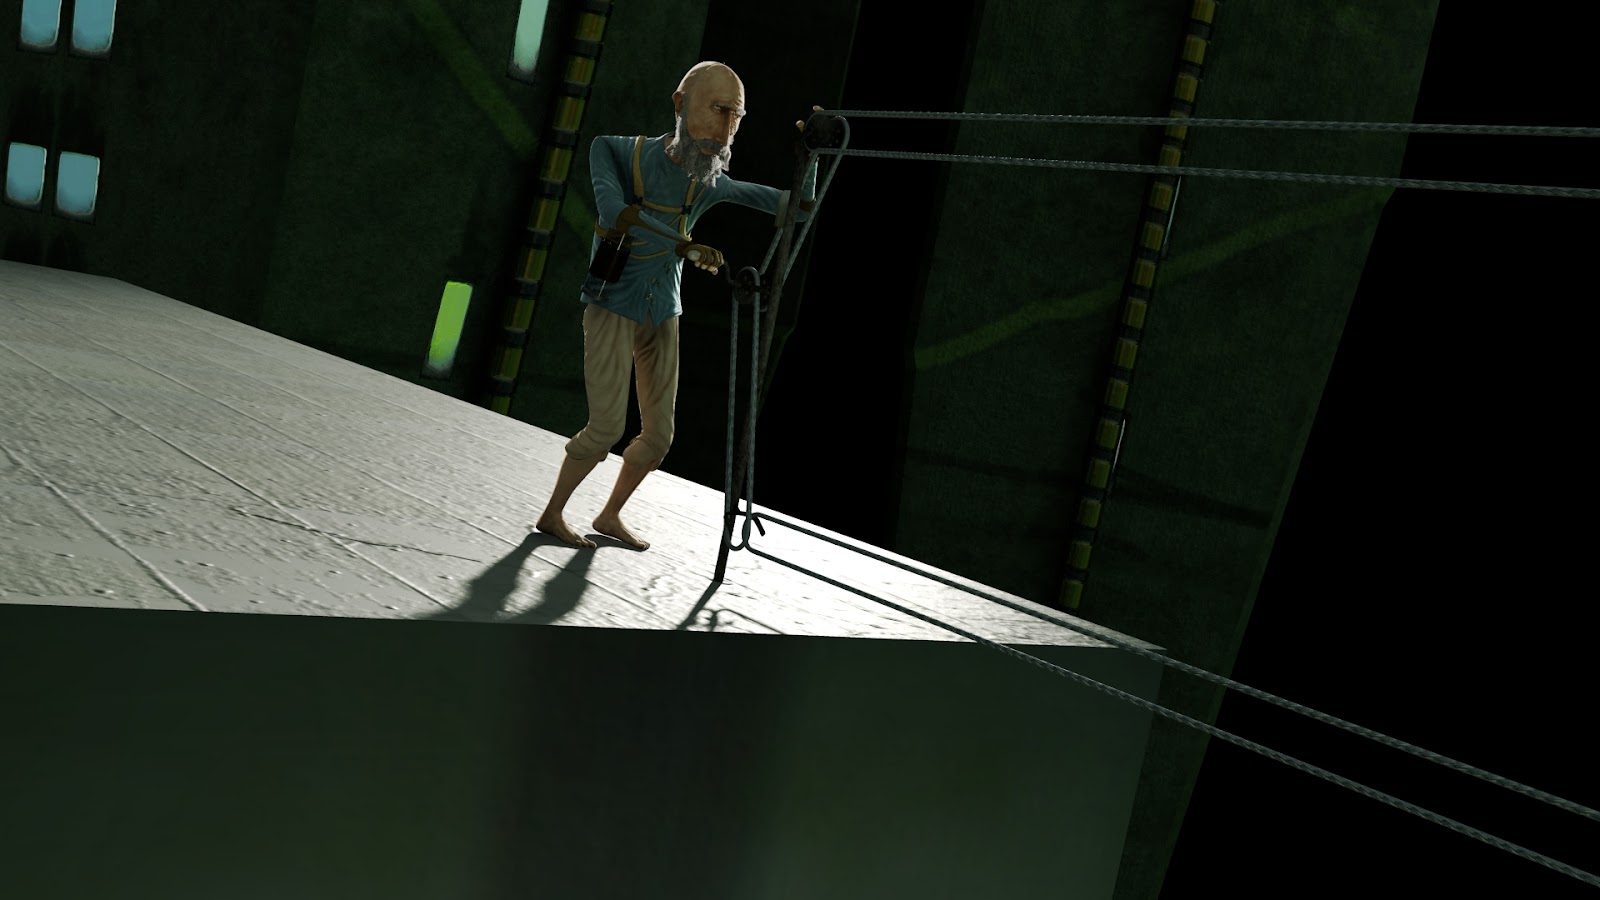
The scene was looking very dark at this point so I created more ambiant light and added the flashing light on the oxygen tank itself.
Prop Light
After rendering and a quick comp with bokeh depth of field, some horizontal glow and lens smut, it turned out like this:
Comped
Charlie has done a fancy version with motion blur but that still needs some dynamics added to it in the form of oxygen escaping from the broken rivet that pops out of the pipe after the tank hits it.
Shed Lights 2.0
As a result of that shot I had updated a lot of the existing shed lights which I use as a base to start from in each shot in the shed. Here's what its looking like at the moment. Almost all the textures are done too which is wonderful.
This last couple of days have been really tough. I keep swinging between moments of 'I'll finish this if it kills me' and 'why would anyone willingly make this their career?'. Right now, as long as I imagine how good it'll feel to finish this, I'm leaning towards the death by animation option.
Pixel Propaganda
Limbo was awesome, therefore by default so is this interesting article with its creators about running a tiny company and retaining creative integrity.
I recently found that ILM have their own youtube channel and among some of the amazing things on there was this video breaking down some of the shots in Rango, amazing seeing what they get away with, it makes stuff seem possible.
Then there was this Transformers one which is just an amazing insight into the effects, terrible film aside.
Someone was writing on the appeal of Far Cry 2 and why its sequel looks to ruin the great leaps it made for games. I can't help but agree and wince every time I see for of Far Cry 3.
Jesper Juul, a brilliant game theorist, did a talk on games as a medium for tragedy, something believed to be impossible, and made a good argument in opposition to that belief.
On a similar topic theorist Janet Murray, author of one of my favourite game theory books Hamlet on the Holodeck just wrote her first book since then. Here's an interview that shows just how fundamental her thinking is to the development of the 'digital medium'.
A cool plugin for maya which opens up all the best bits of the mental ray renderer that are hidden away. My trial expires in 23 days unfortunately, hopefully I'll get to try it out properly first.
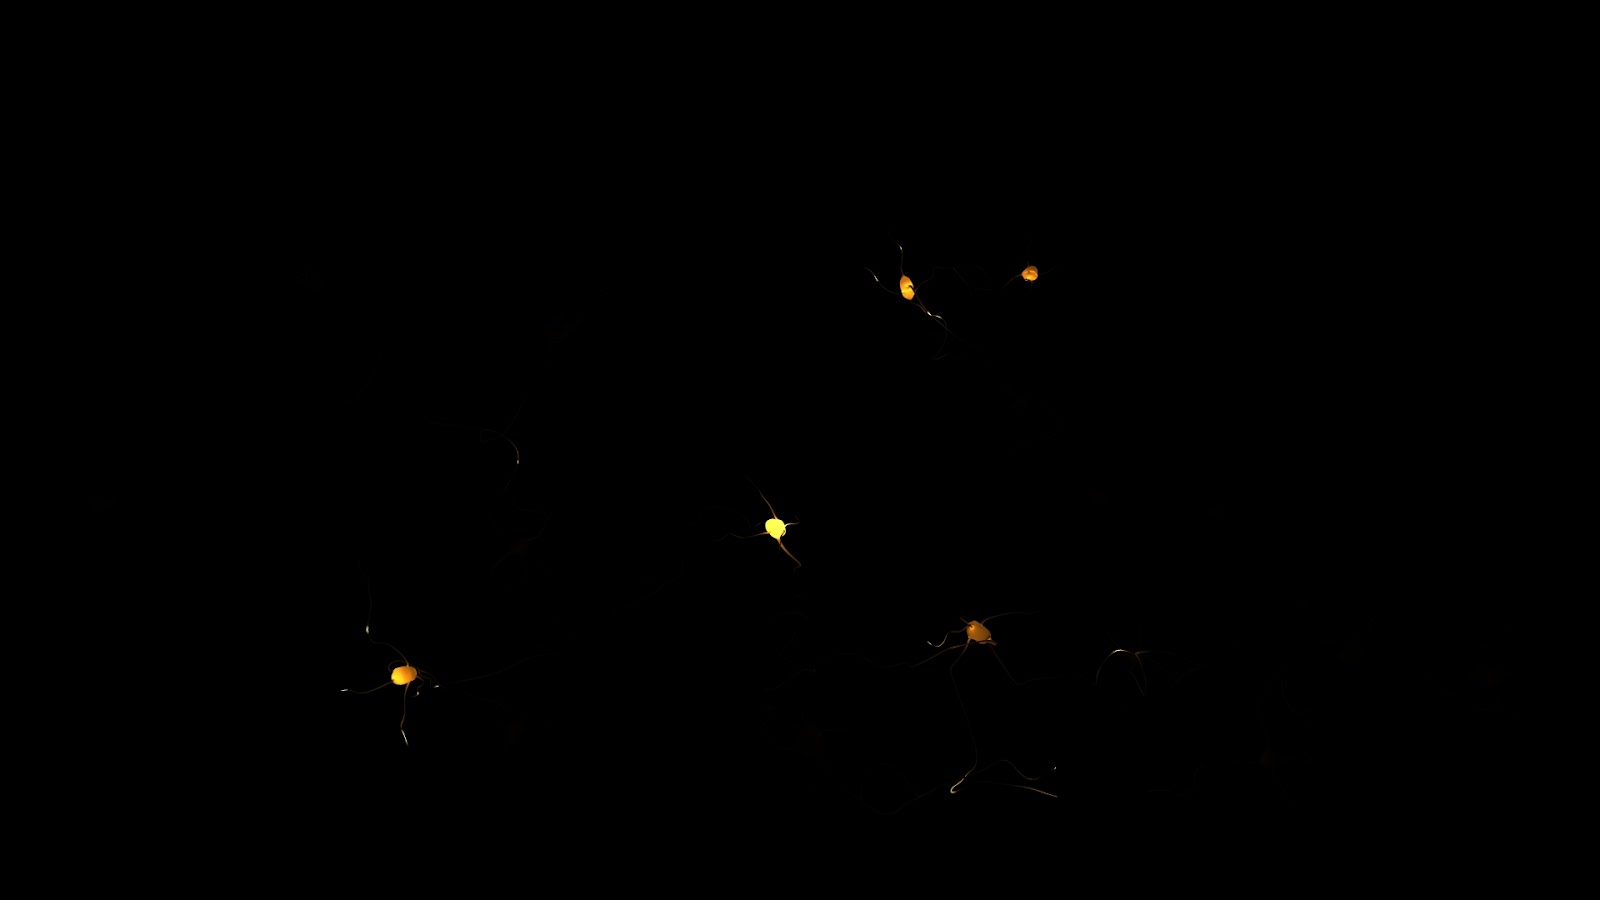
Getting the neurons done on time for the brain documentary was tough, I think in the end I created this shot in 3 days, which is good because I wasn't away from Kernel for too long and I made the deadline. The first day was for modeling which was really basic, I only really created one neuron and then a lot of pathways. I then duplicated these and modeled the pathways to join up. Getting the translucency to look right was also tricky and I think what in the end caused surprisingly long render times for such a simple scene, though granted, one with a hell of a lot of polygons in it. actually now I think about it I think there were about 452 lights in it too. The shader was a mia_material, because I love them. I should have put textures on them but time was short and UV unwrapping that geometry would have been a complete bastard.
Complete with Legend and everything.
This is the model of the neural pathways. Because I didn't use curves to model this (probably a mistake) I had nothing to use to animate the lights along, the lights which would represent the pulses of thought down each pathway...or something. This meant I had to do it by hand and so all 113 lights were animated leaving a neural hub, dispersing and diverging until they reached a new one, and then that would trigger that hub to disperse its one lights. One thing I really struggled with was making a camera move that didn't cringe with its CG-ness. A lot of the medical animations of this kind of thing not only look awful, but move terribly, using that classic floaty CG fly through movement to sickening effect. In the end I decided on a simple pan up, which made the neurons look like the roots of a tree, and then spiraling outward to reveal the whole lot of them. This worked well but, as Adam pointed out, moved to fast, meaning he had to re-use a part of the shot. One I had these lights animated I fully planned to to duplicate it again but duplication doesn't retain animation keyframes so I had to reference the same scene into a new scene four times to retain all that animation.
Neuron Cluster
Thank god for Maya 2012's new viewport 2.0, the framerate was buttery smooth even with all those objects. I used a render of the neurons to take into photoshop and create a background that gave the illusion that this was just one cluster out of hundreds and applied that to a sphere surrounding the entire scene. It kind of works, but only when blurred to hell. They look kind of like glowing magical fruit...
Close
Mid
Far
And the final rendering and composite:
Now that Charlie has done a sterling job on the storyboarding and the animatic, me and Hugh have begun the block through- this is basically layout but for 3D as far as I can tell. We do some key poses for Leonard, and then put the camera moves in for a scene, following the animatic as closely as possible. Here's a sneak preview:
Gorgeous I know.
Something I stumbled across on a CG talk forum was a new feature in mental ray called unified sampling. It is super awkward to find as you have to run a script just to reveal it in a panel that is hidden by default. But, its worth it because after struggling to get soft depth map shadows to look good (they don't), I used the three same area lights with raytrace shadows to achieve much better, but unacceptably grainy effect. What unified sampling does is overrides the number of samples on anti-aliasing, shadows raytracing, and glossy reflections and unifies them. Using a magic algorithm it then samples only what it needs to using one quality control value that means I get 3 soft shadows for only a minute more than awful shadows. I then got carried away and rendered at 4k resolution for the first time. Click "Original" in the quality settings on the youtube video to see that crazy detail. Almost looks like a stop motion model. It makes 1080p look blurry by comparison, my renderine threshold has been raised.
I apologise for all the jargon in this post, hopefully there's enough shiny to compensate. Its not reader friendly but hopefully somebody learnt something.
Pixel Propaganda
Here's a cool, western styled animation with a style similar to what I want to aim for with Kernel, both in terms of animation and aesthetic. Plus making of.
I read an article on the lighting in Tintin and the development of Weta digital's lighting engine with a hilarious name. Pantaray or something.
Previously on The Pixel Crush: "next week: sculpting!"
Sculpting!
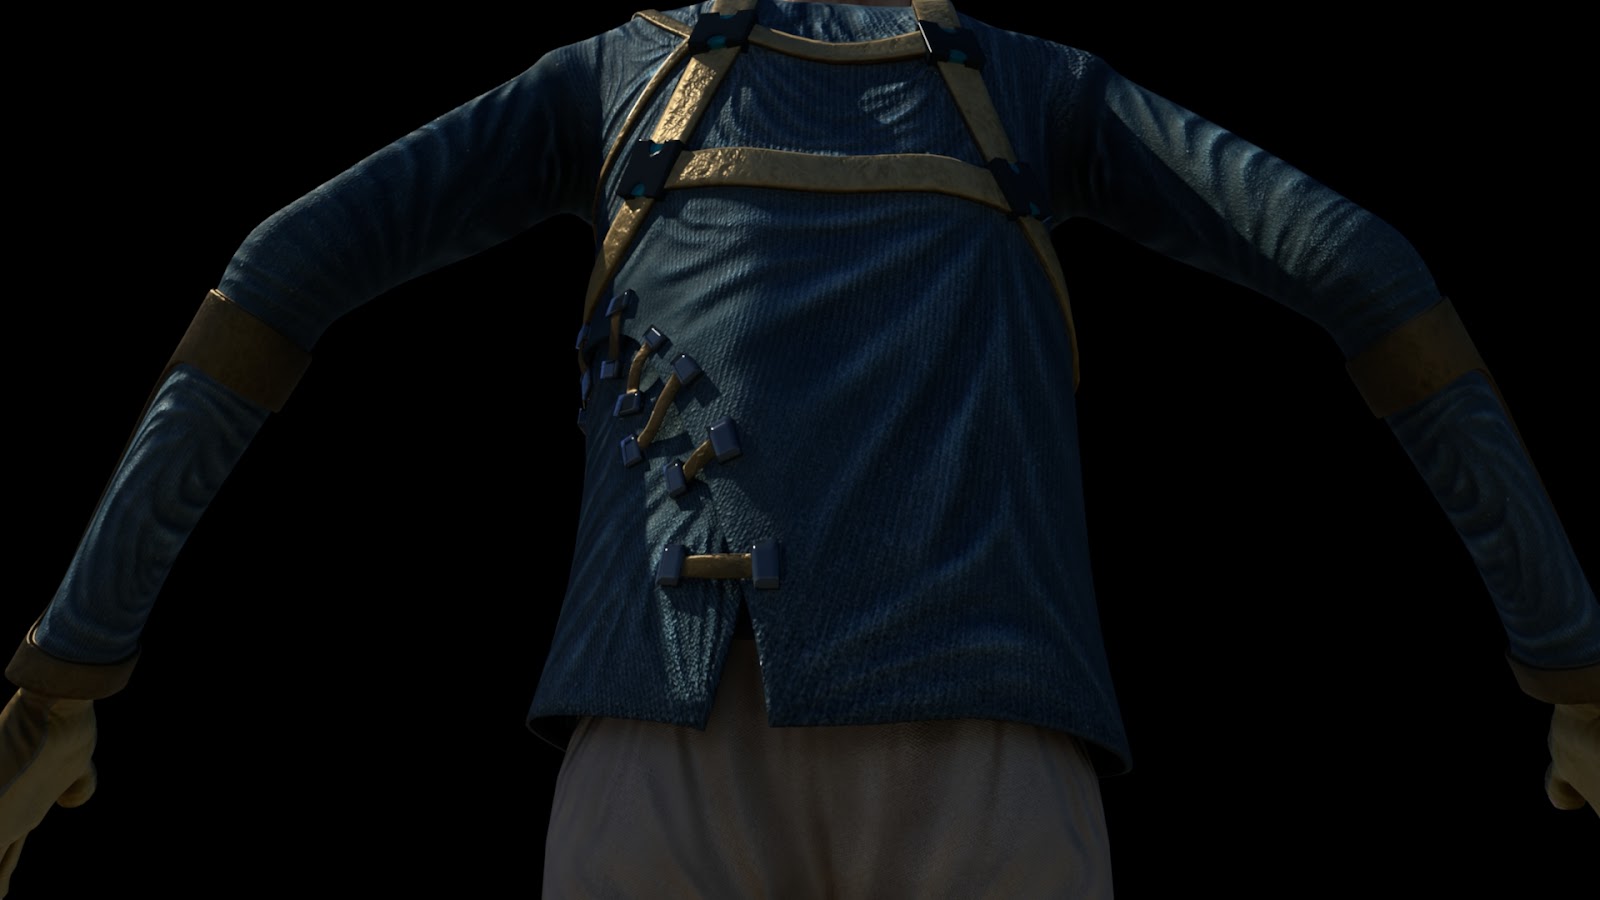
I took Leonard's newly unwrapped torso and trousers and sculpted copious amounts of folds and detail into each, slightly forsaking the original concept design in the process. The amount of folds on his otherwise quite rigid clothing gives the impression of silk draped over cardboard but I don't really care because folds are awesome.
Sculpt Front
Though Dan did point out I went overboard on his glove to the point where they looked like medical gloves rather than gardening gloves so I went back in to the sculpt, added a seam, and flattened the palms for a more practical aesthetic.
Sculpt Back
For the first time I have been experimenting with normal maps, a fancy form of bump mapping or a flat form of displacement mapping depending on your outlook on life. Or a way of adding detail to a model using a multi-coloured textures for those reading who aren't animation students/professionals. (Imagine if there were professionals other than our tutors reading these blogs...hey professionals!)
In order to generate a normal map, a technique used widely in videogames incidentally, you first need to have a high res sculpt of your base model, there are then various ways of storing the data of the surface. The 'normal' is the direction the surface of the model faces when it comes to calculating lighting, reflections etc. Tangent normals look like this for Leonard's torso and are perhaps the easiest to get to work properly as far as I've found.
Tangent Normals
Object/world based normals look like this and are exceedingly pretty in a psychedelic way.
Object Based Normals
In order to get them to work properly in Maya they had to be 32bit for some reason, something I need to look into because the texture would be much smaller in 8bit meaning (much) faster render times. This polycount wiki is a great source of information on the subject.
Taking them into Maya I played around for a few hours trying to get them to look right before realising they needed to be 32bit in order to render properly without blowing out or breaking in certain areas. I was having problems with the object based normals where the UV seams met but using the 32bit format I switched to for the tangent normals probably would've fixed this.
Here's Leonard wearing his new garments.
Later I went back and sculpted the trousers too with their fancy interleaved ankle cuff things.
Leonard in his new outfit
I even tried a normal map on the face but the way the light scatters through his skin looks SO much more beautiful when its displaced properly that the plastic looking flatness of the normal map didn't work in the excellent way it does for his clothes. Here I've applied some really simple shaders just to test the specular properties of the clothing with the normal maps applied.
Plastic Face
Its all very smooth looking so next I began texturing using a lots of maps extracted from the Mudbox sculpt including ambient occlusion, displacement, and some photographs from my tiny collection of texture reference.
Ambient Occlusion Map
Using a really simple process of painting the base colour I wanted, then layering all the maps over the top and then adding a detail layer for cloth or dirt or leather I was able to create some textures I'm quite proud of. I often used the maps to mask out things like dirt so they were only in the cracks of things where Leonard couldn't clean them so easily. Blending modes between layers became really important as the standard way of applying ambient occlusion is using multiply but to get the skin and clothing looking natural you want to shadows to be shades of the base colour but darker, instead of the grey desaturating effect of ambient occlusion. So I ended up chopping this map into pieces with different blending modes.
Here's one I made earlier:
Diffuse Texture
Then came the endless tweaking of the shader attributes, something I usually enjoy but when you have all the shaders with 32bit normal maps attached to them the refresh rate of the little shader swatches slows right down meaning every time adjustment takes 15 seconds for the software to become responsive again. Tedious. If anyone knows a way of turning that refresh off let me know.
Back
Front
Feet
Its fantastic to be seeing Leonard's look so close to completion (I would say done but things always change) and now I'm aching to see him move and with Luke hard at work on the rig with the majority of it done its looking promising. Leonard looks forward into a future of movement wistfully.
Leonard Paisley, realised at last.
A blog post concerning displacement maps wouldn't be the same without a glitch render so here you are:
WOOOOOH DISPLACEMENT YEAH!
Meanwhile I finally completed that brain shot for the creativity documentary and with the help of some fancy depth of field I'm really pleased with the result.
I realised I kind of skimmed over that but this blog post is already too long and there's not much more to say about it that I haven't already apart some fancy compositing. I used chromatic abberation (very sparingly), bokeh depth of field, and film grain to just elevate to that higher level of photorealism I was aiming for (though I don't think I'll ever attain due to a chronic need to stylise things). I even, after ALL THIS TIME, found a way of adding motion blur in post without motion vectors in after effects. HOW HAVE THEY BEEN HIDING THIS?! Everybody go load after effects now, with an old animation, add the time warp effect, using the pixel motion at the top of the presets, set the speed to 100, click enable motion blur, manual, and adjust the shutter angle to your heart's content. F*CKING MAGIC. I'm in genuine shock.
Nearly done now, stay with me.
Kai, I believe, has completely blown me away (a pun I didn't even notice the first time) with this cloud he's created for Kernel that will contain Leonard's precious knowledge. I've been doing some very quick lighting tests just using point lights and trying different setups with and without shadows. Much still to do but already it looks brilliant.
If you reached the end of this post then you have some idea of what a monster of a week its been, and that's only a portion of it. Forgive me if I keep the propaganda quick, my brain is frazzled and I can't be bothered to check for typos.
Pixel Propaganda
The author of A Theory of Fun writes a blog post about how narrative is not a game mechanic, and the structure of play once the narrative is removed is so exceedingly stupid that while it can make a great experience, its awful game design.
During all this sculpting Wayne Robson, autodesk Mudbox master (yes that's an actual title) released his tutorial DVDs online for free. Well worth a look for basic and advanced Mudbox type informations.
Irrational Games, currently working on Bioshock Infinite, just announced a special way of playing the game when it comes out that will enforce a degree of permanence to the player's narrative and game decisions. Intriguing.
Dear Esther comes out soon in its new shiny remake format. An interesting experiment in minimalist game design almost anyone can play and enjoy this on some level. Though I recommend doing it on a nice PC this game is gorgeous and not in a conventional sense.
A great article on the one man effort on a particular sequence in TrollHunter was published recently that is a great read for any CG generalist who has an interest in mastering every area of visual effects to an extent. Here's a breakdown of his character creation process:


.png)
.png)